January 21, 2014

Getting into Character

In my brief experience of modelling over the past 6 months, I'd usually start modelling my character in Maya. However, I thought I'd take my tutor's advice and start out by making an armature in ZBrush and develop from there. I thought it would also be a good opportunity to get used to the programme so that I can start learning its functions properly.


As a starting point, the armature was good for getting practice, but I could tell that the anatomy was off so I thought I'd start again using the character sheet I'd previously drawn. 


Being so precise in my drawing took a lot of patience - I began with rough tracings of my bearded dragon in photoshop, and made a number of small subtle changes to the anatomy and appearance. I then had to attempt to make the drawings symmetrical in order to make the modelling process easier.

I took these images into ZBrush and made an image plane, resulting in the following armature:
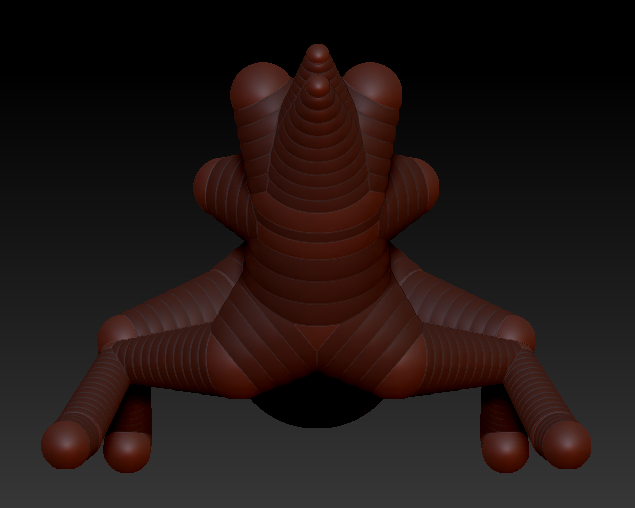


I found that modelling in Zbrush from the beginning was awkward and didn't get me the results I wanted - I also worried about correct topology as this character is something I actually want to rig, animate and work with. As the deadline was also getting closer, I decided to go back into Maya and start modelling a different, simpler character design I'd done previously.


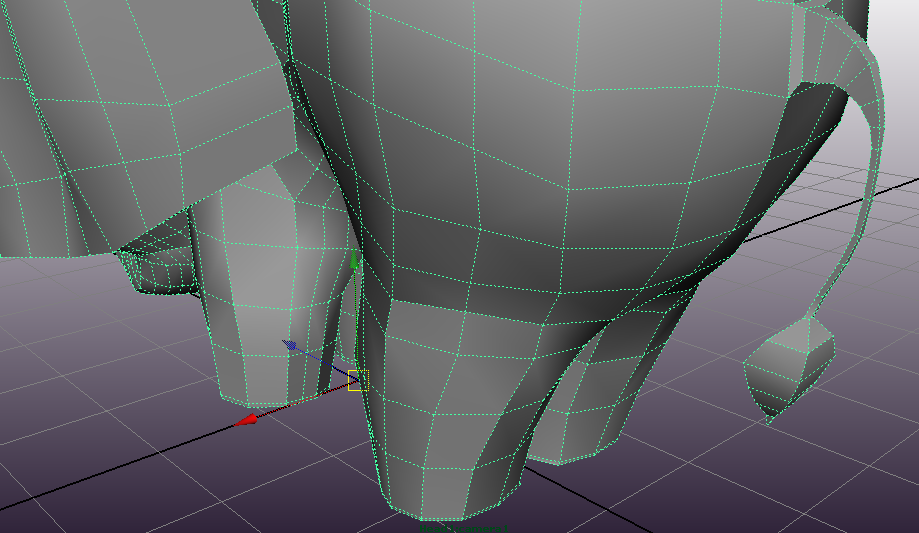


After completing the model, I cut the UVs and took it into ZBrush for texturing.


I felt that the colours and patterns were a little crude, so I tried the process again for practice, making the texturing slightly more subtle.


Link to the rendered turntable: http://www.youtube.com/watch?v=IACA0Sseobk

November 19, 2013

UV Mapping

In order to prepare for the lesson on UV mapping, I did a short exercise myself experimenting with planar mapping using a rainbow target I quickly made in Photoshop.

During the lesson itself we were taught more basics of UV mapping, using a model made by the tutor.

I felt like I needed to learn more, so I did some practice by myself after the lesson. I modelled a fish quickly in Maya and painted a texture map in Photoshop to go with it. Although the model and colours are a little rushed and basic, it definitely benefitted my learning.

November 18, 2013

Modelling

During the lesson we got back into hang of modelling by making teapots in Maya. 
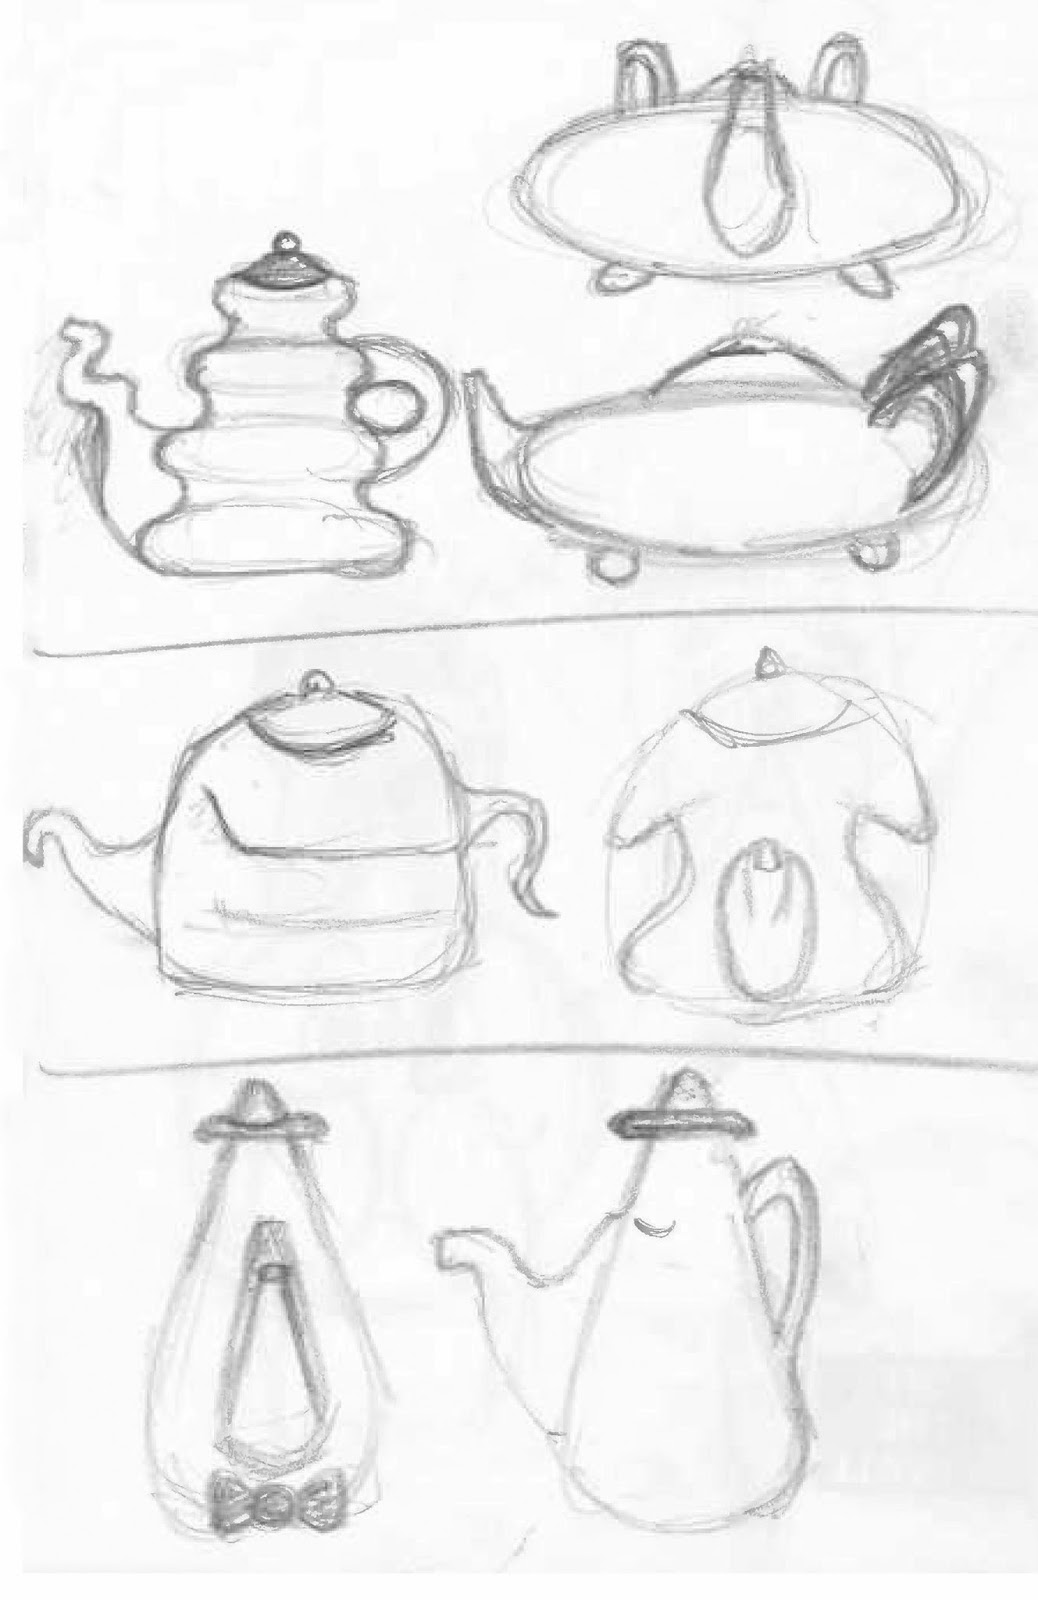
After making a number of different teapots our assignment was to give our teapot a character. I wanted to avoid the Beauty and the Beast cliché of just giving it a mouth and eyes, so I tried to approach it in a different way by using form and shape.


Following on from the character design sketches, I grew attached to the lizard designs. As I have a bearded dragon of my own I thought I'd make the design more simplistic and realistic. I didn't feel the need to add anything extra to his anatomy as he has plenty of character as it is! I started off by doing some life drawing of him in his vivarium.


In one of our lessons we tried making clay sculptures of our designs to get an idea of what our character would look like in 3D; unfortunately I missed this lesson due to ill health. I tried to catch up in my own time, however I missed out some of the fundamentals of modelling with clay - something I've never actually done before - such as making an armature, or buying better quality clay!

It's suffice to say that I should probably stick with digital modelling...!

The Fun Part

Here is a collection of some of the character design sketches I accumulated over the course of two weeks. I started off with humanistic characters but after a while I wanted to try something different, so I continued with animalistic designs which I think were a little more successful.


I then started fine tuning some of the designs, focusing on a little elephant, 'Ellie', and a mutant lizard/rat/hamster...


Beginnings

The focus for this term will be centered around character design, resulting in a fully modelled character by the end of the project! This will lead on to next term's project - environmental design - so when thinking of characters we need to keep story and location in mind. We started by looking at other examples of character design and what makes a distinct, successful design.


We watched the animation, 'French Roast' for inspiration - all of the characters were unique and memorable, and importantly, all have distinctive silhouettes. As an exercise, we were told to try doing our own designs for the characters. This was fun, but challenging considering I already had the memorable designs from the animation in my mind.


After a long summer with not much drawing practice at all, I thought it would be a good idea to get back in the habit of drawing before I attempted some proper character design. I did this by practicing a little life drawing and doing quick sketches of friends and classmates.