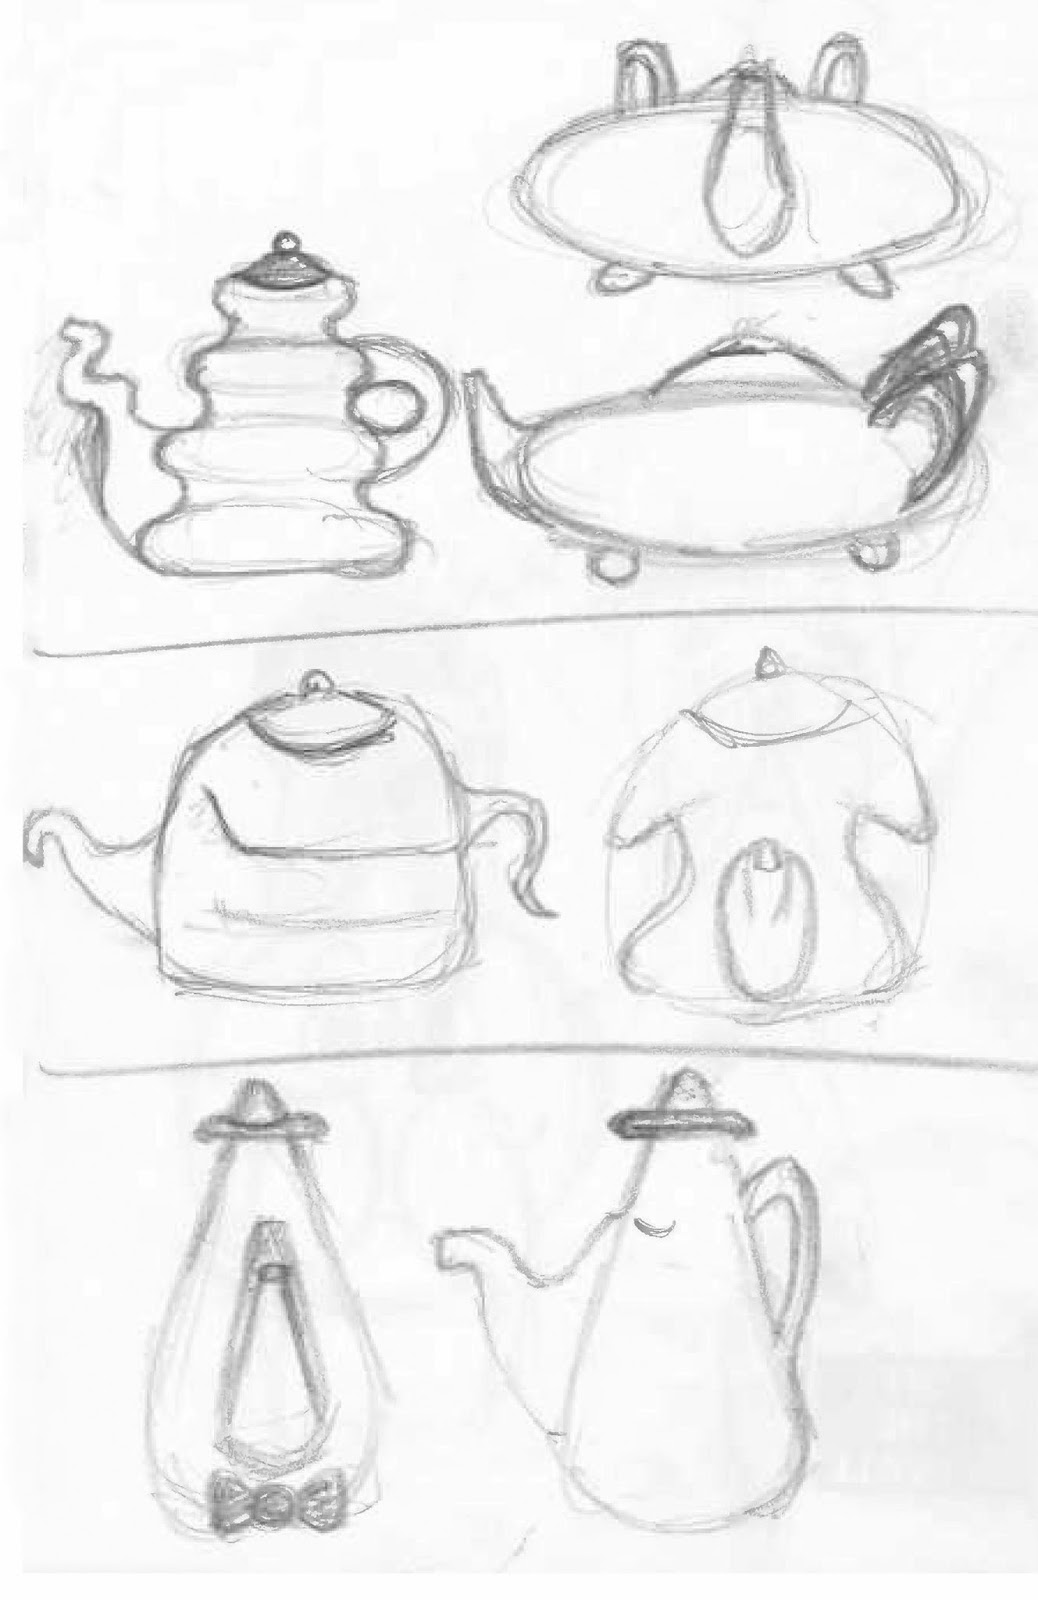
During the lesson we got back into hang of modelling by making teapots in Maya.
After making a number of different teapots our assignment was to give our teapot a character. I wanted to avoid the Beauty and the Beast cliché of just giving it a mouth and eyes, so I tried to approach it in a different way by using form and shape.
Following on from the character design sketches, I grew attached to the lizard designs. As I have a bearded dragon of my own I thought I'd make the design more simplistic and realistic. I didn't feel the need to add anything extra to his anatomy as he has plenty of character as it is! I started off by doing some life drawing of him in his vivarium.
In one of our lessons we tried making clay sculptures of our designs to get an idea of what our character would look like in 3D; unfortunately I missed this lesson due to ill health. I tried to catch up in my own time, however I missed out some of the fundamentals of modelling with clay - something I've never actually done before - such as making an armature, or buying better quality clay!
It's suffice to say that I should probably stick with digital modelling...!
Here is a collection of some of the character design sketches I accumulated over the course of two weeks. I started off with humanistic characters but after a while I wanted to try something different, so I continued with animalistic designs which I think were a little more successful.
I then started fine tuning some of the designs, focusing on a little elephant, 'Ellie', and a mutant lizard/rat/hamster...
The focus for this term will be centered around character design, resulting in a fully modelled character by the end of the project! This will lead on to next term's project - environmental design - so when thinking of characters we need to keep story and location in mind. We started by looking at other examples of character design and what makes a distinct, successful design.
We watched the animation, 'French Roast' for inspiration - all of the characters were unique and memorable, and importantly, all have distinctive silhouettes. As an exercise, we were told to try doing our own designs for the characters. This was fun, but challenging considering I already had the memorable designs from the animation in my mind.
After a long summer with not much drawing practice at all, I thought it would be a good idea to get back in the habit of drawing before I attempted some proper character design. I did this by practicing a little life drawing and doing quick sketches of friends and classmates.
We were told to start thinking about environments for our characters and to come up with some preliminary ideas in the form of quick sketches and thumbnails. We had to come up with three environments with a story arch in mind:
1. Home - Where the character lives, feels comfortable. The beginning of the story.
2. Somewhere new - A new area the character has to explore. Tension rising.
3. Somewhere scary - An alien location where the drama happens. Dramatic contrast.
I hadn't thought of a strong story yet, so it was a good exercise to get me to start thinking about the adventures my character, or my bearded dragon, could have. Instead of putting him where he would normally be in the wild - the desert, large areas of sand and rocks - I decided I could put him somewhere similar to where he lives now - a manmade vivarium in a flat in London. I decided the latter was not necessarily as visually rich, but as a modeller, it would give me more challenges and a lot more to work with.
I thought it would make it more visually exciting to see the environment through the lizards eyes, so instead of a small plastic plant climbing up the side of the vivarium wall, it could be a huge burst of fauna, like vines in a jungle, or instead of a food bowl with a small pile of rocket, it could be a giant mountain of food, through his perspective. I imagined that he could climb up this massive tree trunk (which in reality is a medium sized piece of driftwood) and find a way out through the back of his little world (vivarium) into the next environment. In order for him to make this unlikely move, I could introduce another character, a cricket, to lead him there.
There he meets a swarm of cables and electricals which he has to travel down in order to try to catch the cricket. He has to face many man made objects, such as a colossal lamp and a blaring television. The cricket starts climbing up a tall, toppling pile of books and magazines, leading the lizard to his third environment...
Which takes him to a windowsill with the window slightly open. He looks over the edge to see something far more frightening than the cables/lamp/TV - a gigantic drop and a busy road underneath. Terrified, he takes a few steps back and falls over the edge of the windowsill and on to the floor again. He turns around and sees the cricket standing outside his vivarium, beckoning him back home.
The story isn't well developed or imaginative, but I wanted it to be simple and environment driven, as opposed to action driven. I'm sure I will probably end up with something completely different by next term, but it serves as a good starting point. The last frame shows a simple floor plan.
In my free time over the past couple of weeks I have been following another modelling tutorial that has no connection to character design, but was good practice for modelling in Maya. The tutorial was extremely helpful in that it took me through the many different ways of modelling in Maya, however if I was modelling a pen knife of my own I probably would have done it in a slightly different, simpler way!
After a successful formative assessment with my tutor, I devoted a few days to do some research into what makes a successful, humanistic animation. I usually draw inspiration from one of my favourite 2D animators, Glen Keane, due to his subtle, realistic animation, however this time round I thought it'd make more sense to take reference from 3D animation.
I
re-watched Toy Story, the first feature-length animated film made by the
pioneers behind Pixar Studios, which provided valuable influence. What was helpful to see is that it's still possible to create realistic animation whilst exaggerating key poses, and Pixar have managed to do it in a comical way without being pantomime-like.
I also used the archives from http://www.11secondclub.com/ to look at more hand gestures and techniques in animating. For example, I looked at this humorous piece which again, exaggerates key poses without looking entirely unrealistic:
As
I was animating a human rig, I wanted it to appear as human-like as
possible, within the boundaries of my skill. As well as filming myself
act out the dialogue (see previous post), I watched some extensive
videos on body language, looking at common gestures and the subtlety of
human movement.
After the research stage, I thought it would be appropriate to create a gantt chart for the upcoming 5 weeks - there was a huge amount to do and I had to factor in a trip to Barcelona to go to the 'OFFF' visual arts & animation festival. The event itself was invaluable in terms of inspiration, however it meant that I found it very difficult to stick to my schedule!
Before I began blocking, however, I wanted to study my acting reference a little more. When I drew flow lines and wrote down precise movement analysis for my walk cycle reference during my last project, it proved to be extremely useful and definitely benefitted my final animation in terms of realism. Here's hoping I can do the same again!
When I began blocking the key poses, the things I was looking out for were flow lines, silhouettes and lines of action. These are things I pay very close attention to in life drawing classes, so my time spent drawing and anaylsing the human body has certainly paid off. Mainly, it meant that I could craft some really emphatic poses, which would hopefully tie my animation together in making it look like a proper performance.
Examples in posing.
I like the bottom right image especially - the angles in his torso create a strong line of action which is followed by the neck and head, and the arms & hands show good juxtaposition which provides visual interest.
Taking reference from an image I took of my own hands - very difficult to pose and animate correctly!
Eventually, I was able to get past the blocking stage of animation, resulting in this playblast:
I then spent a long, painstaking time working on inbetweens, which I have to admit was my least favourite part of the entire project! I did this until I had keyed most of the frames, not all, and then turned to the graph editor to change the tangents from stepped to plateau - I found this to be more useful than spline as it created lots of flat tangents too, which I was in need of. I did this for each body part separately so as not to be overwhelmed by numerous joints rotating out of control. I did so in this order:
Torso
Neck
Head
Shoulders
Elbows
Wrists
Hands & Fingers
Thighs
Face - Jaw
- Lips
- Teeth
- Eyebrows
- Nose & Cheeks
- Eyes & Lids
For each body part, I changed the tangents, adjusted the curves in the graph editor to create smooth lines, anticipations, ease ins and outs, offsets, and define weight in general.
Graph Editor: Anticipation
Adjusting keys for the mouth one frame faster, for more effective lip sync
(as humans see before they hear)
Evidence of saccadic eye movement.
(The eye scanning/moving from A-B-C)
Realistic eye animation. The pupil tends to follow and stay 1/3 behind the upper eye-lid.
(Also used techniques such as half blinks to show thought - closing lids in 2 frames, then opening in 3, as opposed to a usual blink of closing in 2 frames, staying closed for 2, and opening in 4)
Graph clean up for just one finger!
Using 'physical sun & sky' as a light source, which streamed through a glass texture.
Despite what seemed to be effective planning, I began to run out of time towards the end of term. This was due to a number of unavoidable circumstances, such as ill health and a week in Spain, however I did the best I could in the time that I had. My original intention was to animate my female character, but I was only able to give her a tiny bit of movement in the end. This meant that I had to change my shot sequence & edit, however I actually prefer the end result of just two different shots to establish what was my main character's imagination, and what was actually happening in the room.
Using playblasts I tried 2 different editing techniques, both with different shots, different framing, and different lenses/apertures as opposed to using Maya's regular 30mm. Unfortunately, due to time constraints I am not able to upload my tests! I've decided to choose the final edit as I feel it's the most effective comically - fortunately a few friends and family members of mine agree!
I came across numerous problems during the project - such as rendering and lighting. Although I was able to focus a large amount of time making my character as humanistic and life like as possible, I still wanted him to look good in the scene, so I feel I may have wasted time with choosing correct lighting. As I was using 'physical sun & sky', my render time was almost 2 minutes per frame, so I had to give this up very quickly!
Eventually, I managed to get the render time down to 15 seconds per frame whilst still having effective lighting. During this summer I plan to work more on the piece, perhaps refining and exaggerating the lip sync to make the piece more emphatic. I also would ike to re-animate the hands using constraints, as the movement appears quite jagged. I could also experiment with different posing, of course, such as getting the rig to stand up during points of high energy - I think this might make it more effective overall.
Finally, I would like to change the sequence settings before uploading it online, as the online conversion has made the audio slightly out of sync, and frustratingly, made the arm gestures quite jerky as opposed to its smooth appearance on my laptop.
I think I've accomplished a huge amount this term, but I don't want the the learning to end now that the holidays are here! I plan on refining this final piece, and going on to learn new animation techniques and to take my modelling further.